How to Install Jeg Elementor Kit PRO?
Getting Started
List of Topics
Update Plugin
Before you are going to update the theme, we recommend you to check the following instructions below first :

- You can put your site into Maintenance mode. For more complete information you can check this this article.
- Check the change logs with the new version of the theme right here.
- You can backup the files and the database. In case something goes wrong with your web server, you could rollback your site to previous state. Please visit this page for more complete information about backup.
- Please note if you have made some modification directly on the plugin’s code, they (those modifications) will lost.
- Right after you’ve done updating, please clear your browser’s cache data.
Manual File Update
After downloading the new version of JKit Pro theme from Themeforest you need to extract the file, and then you will find a ZIP file with the name jkit-pro.zip.
Update via WordPress
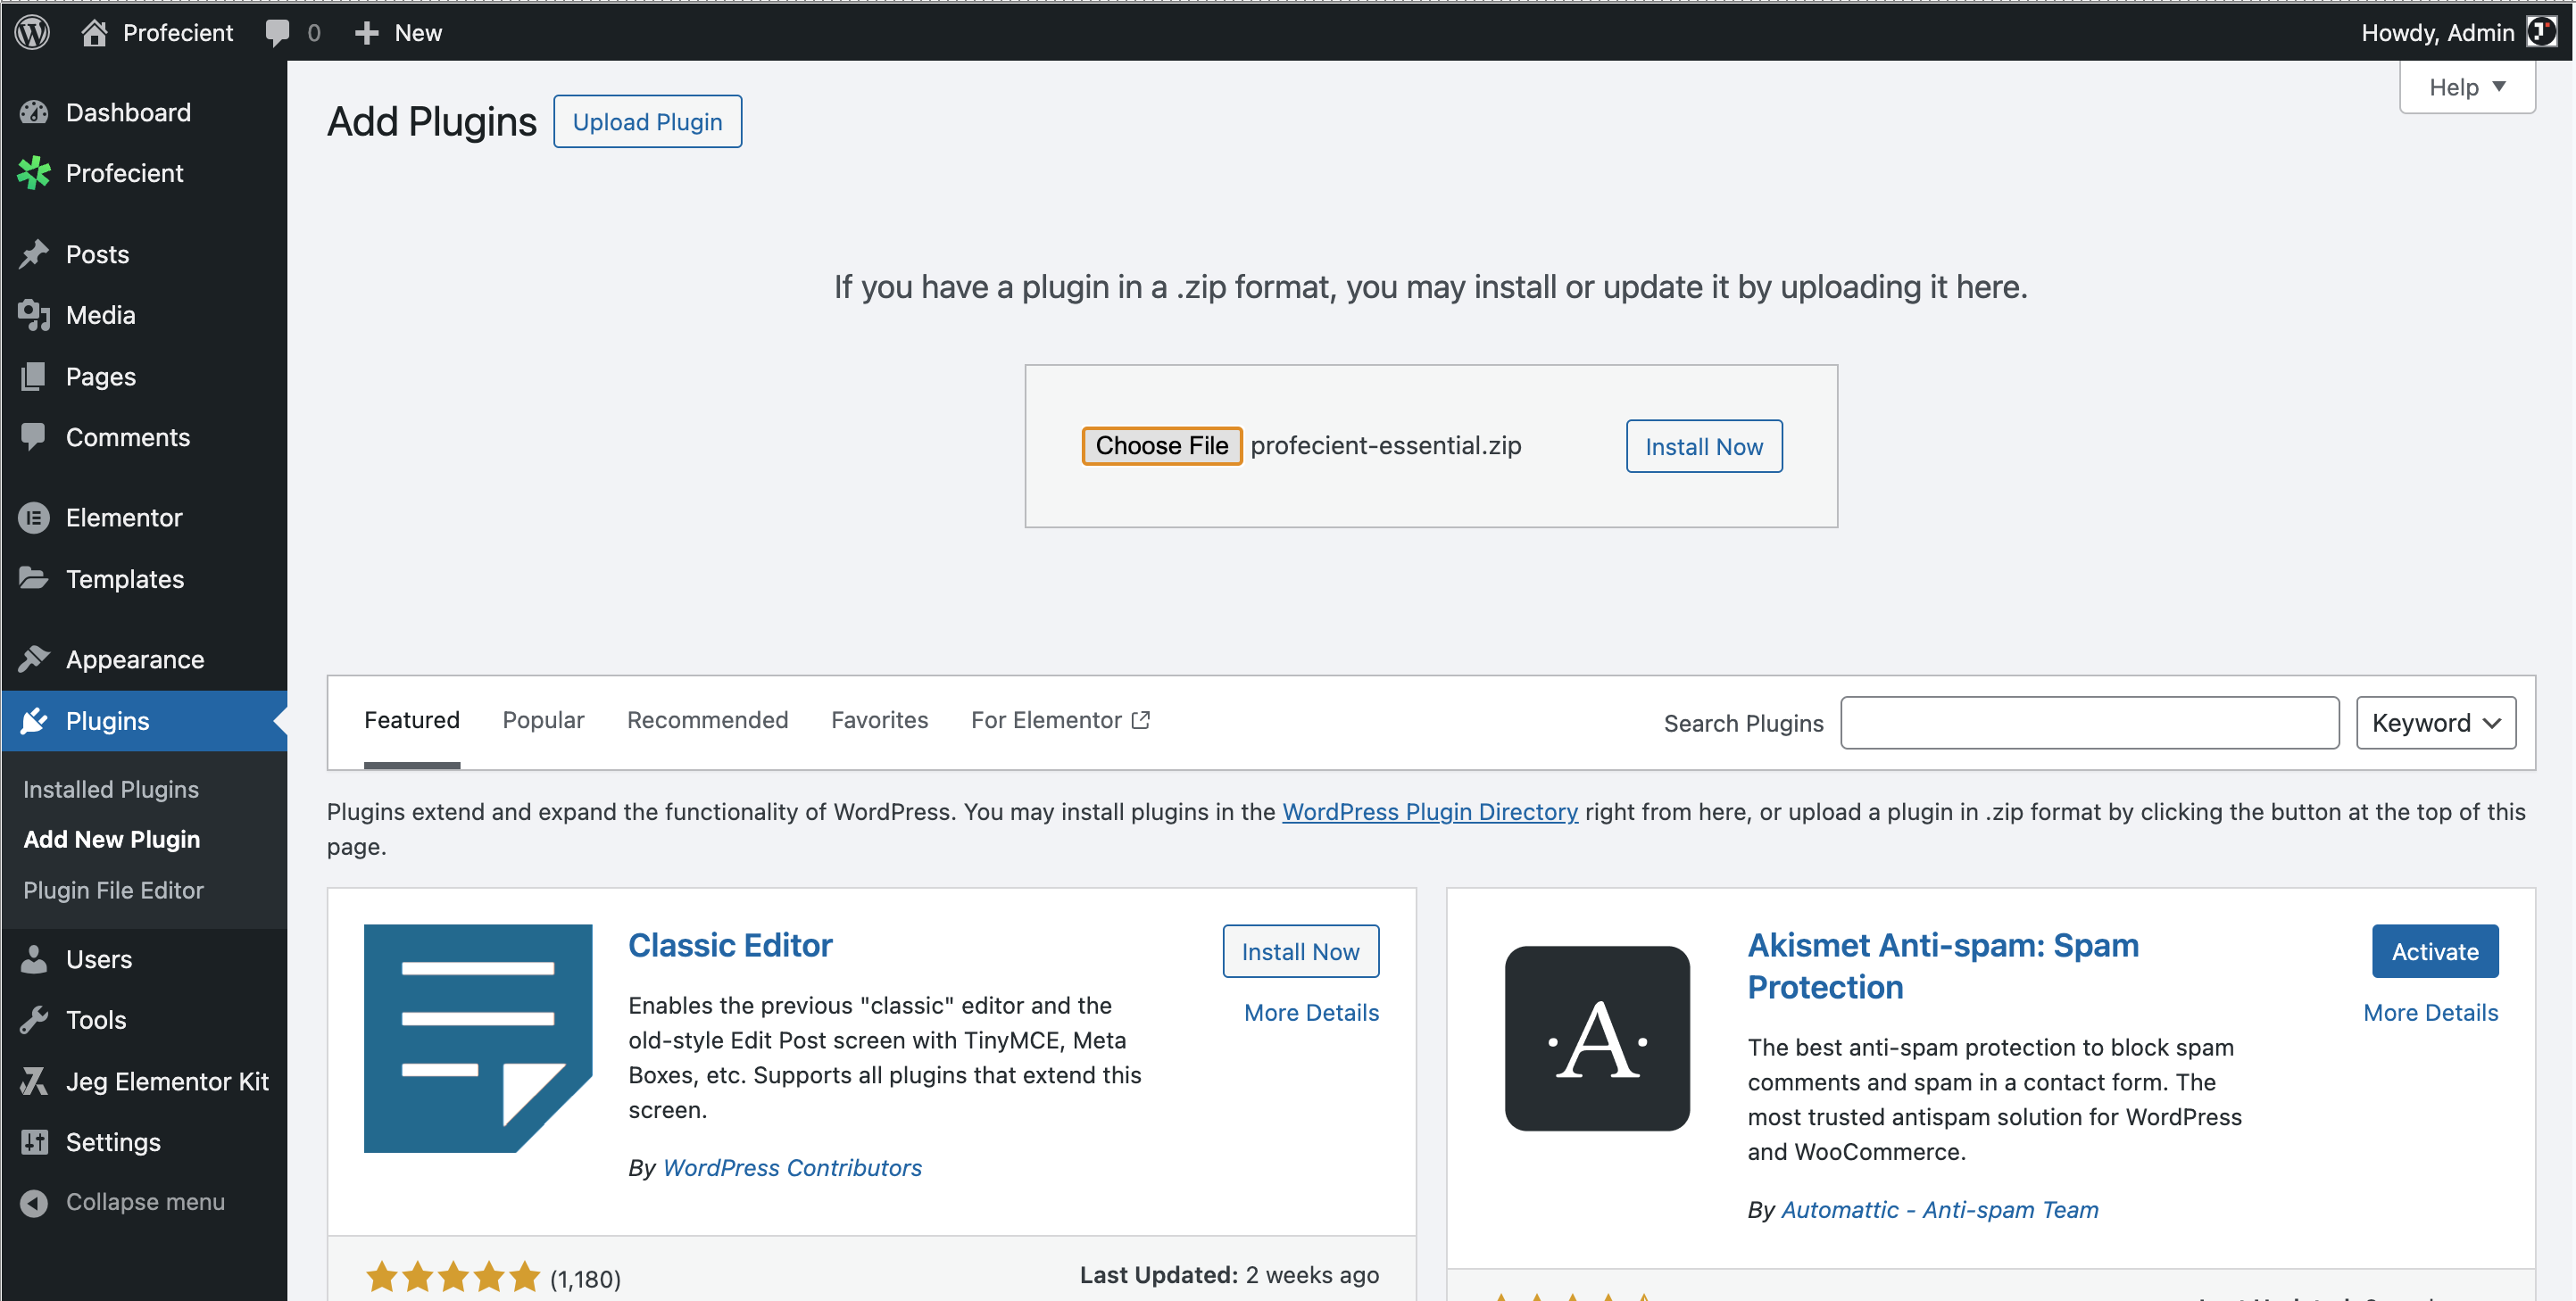
- Go to Plugins → Add New Plugin on your WordPress Admin Dashboard. Then click the Upload Plugin button. After that, upload the file jkit-pro.zip and click Install Now button.

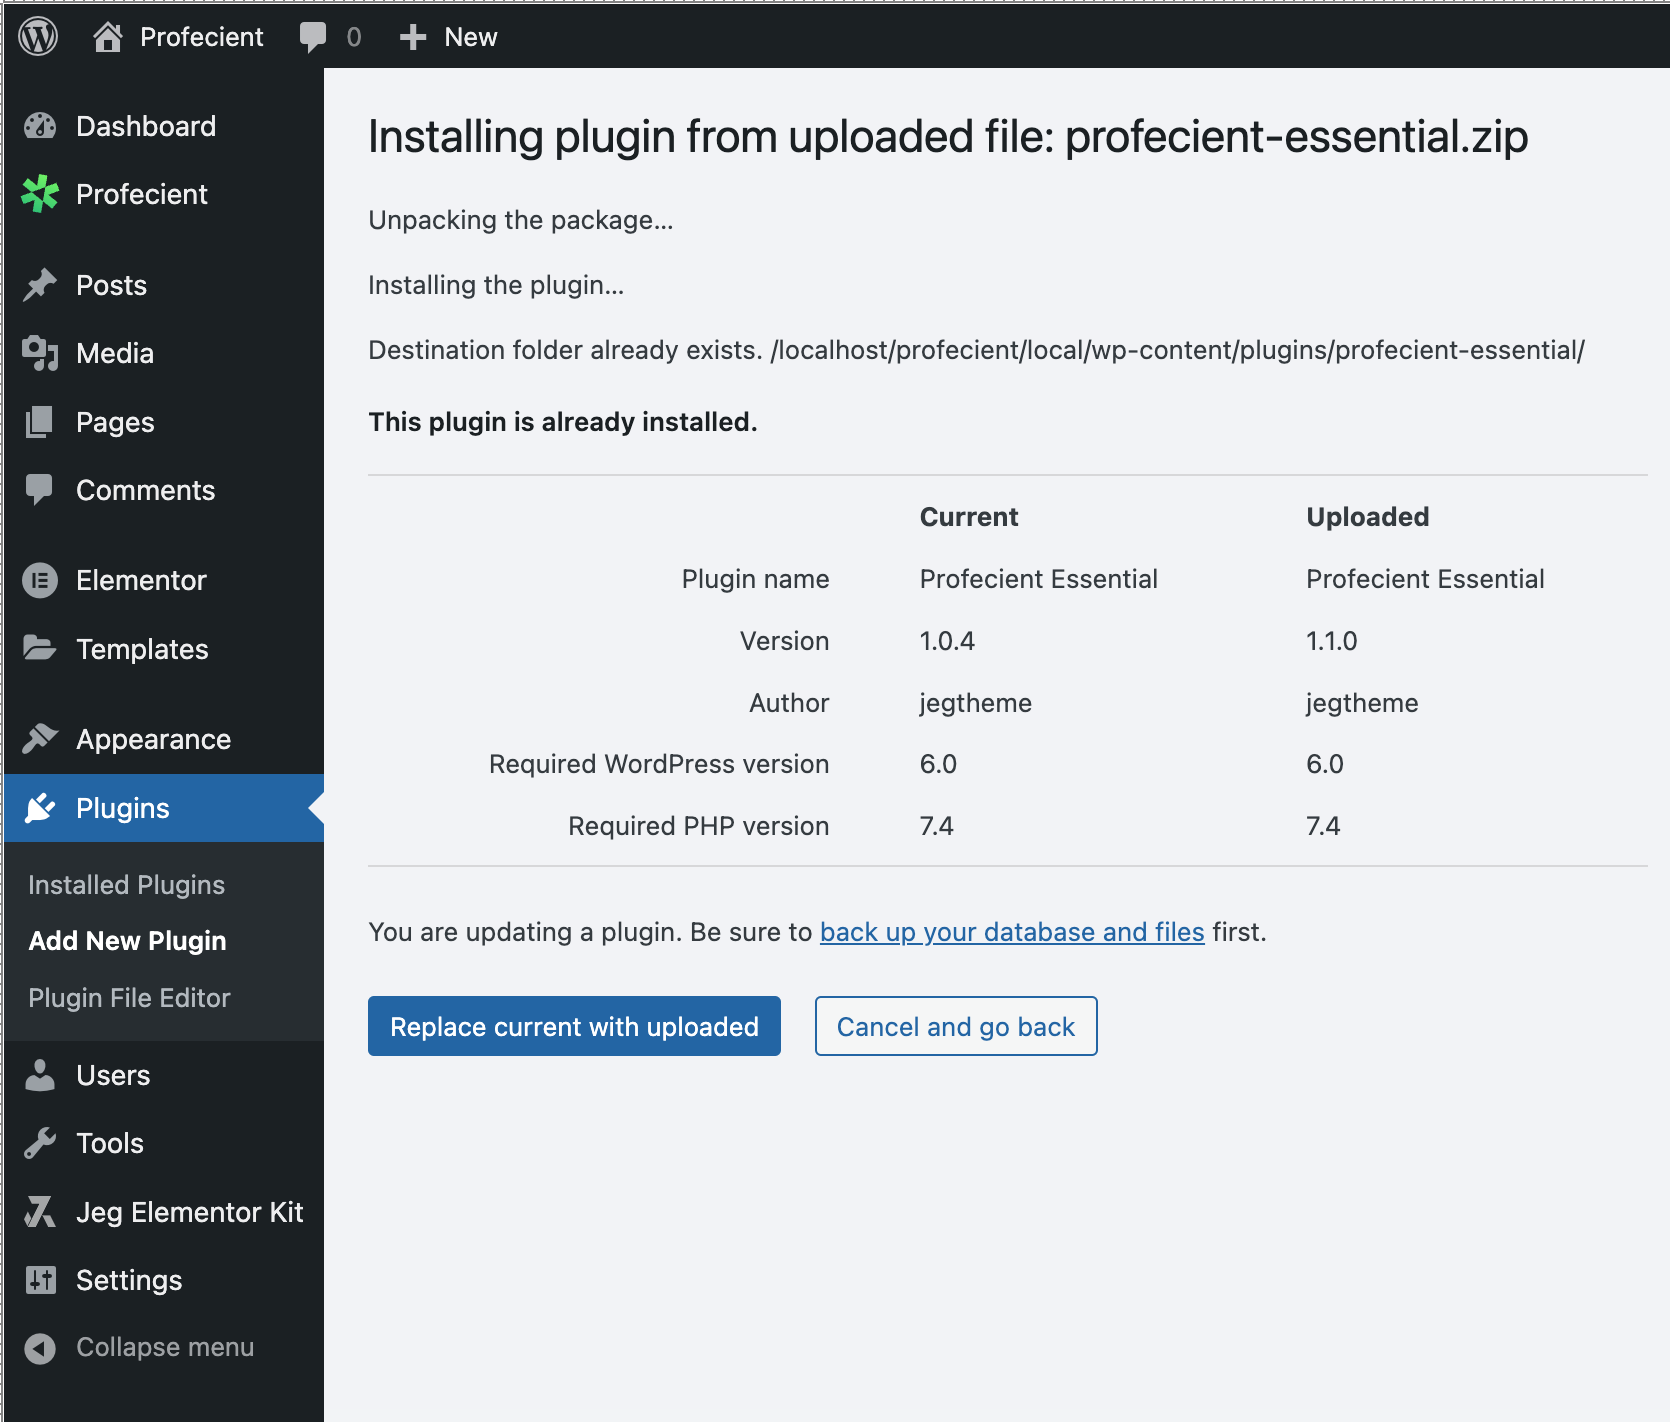
- Before updating, you will be asked to confirm to proceed. Please check the information first, and after confirming it, proceed with the installation by clicking the Replace current with uploaded button.

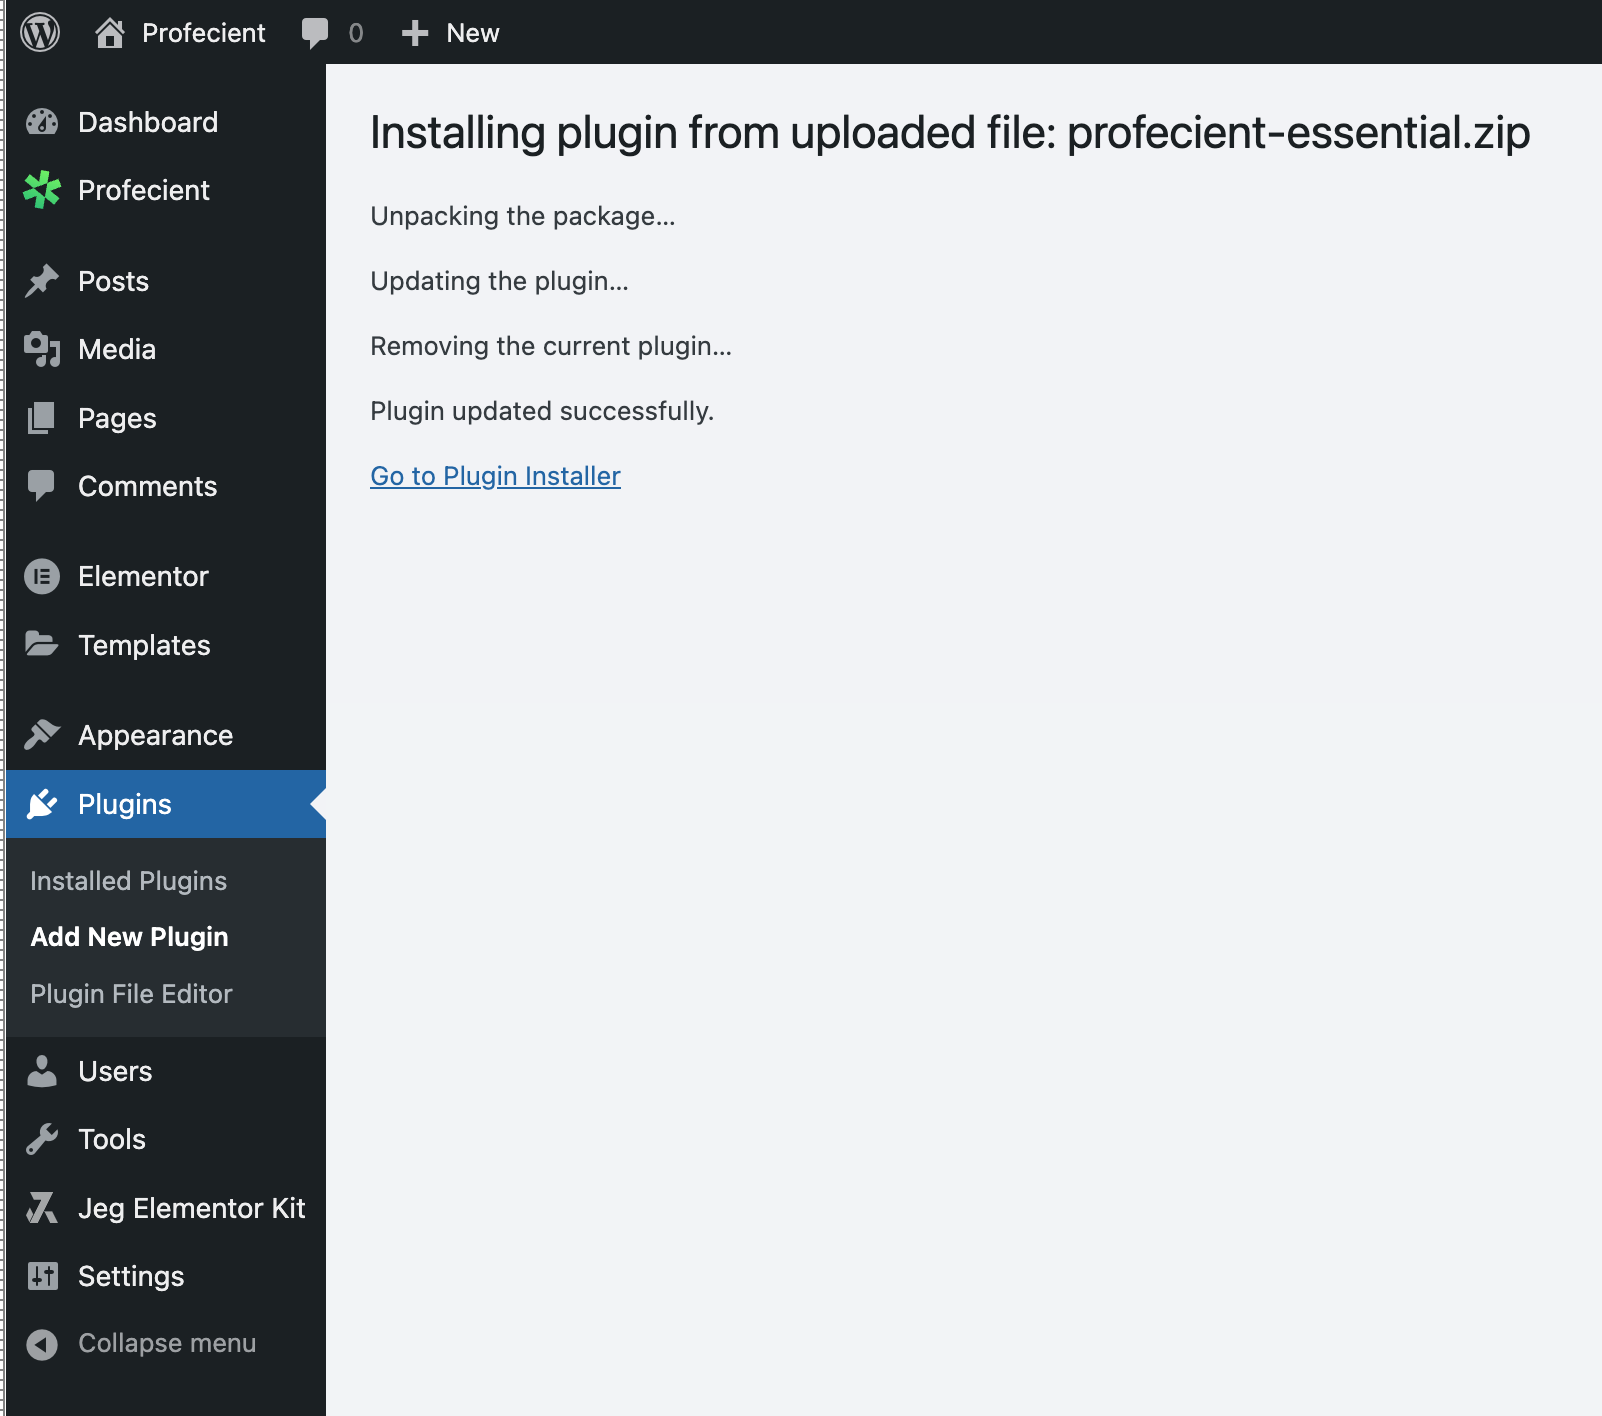
- If the upload process has finished, click the Activate button if any.

Update via FTP
- Login into your FTP client.
- Then access the wp-content/plugins/ directory on your host web server.
- Delete the current jkit-pro folder or rename the jkit-pro folder if you don’t want to delete them. You don’t need to worry about your site content, they won’t be lost.
- After that, browse to find the jkit-pro.zip file and unzip the file.
- Upload the jkit-pro extract folder to the wp-content/plugins/ directory.
- After the uploading process finishes, go to your Dashboard → Plugins → Installed Plugins, search JKit Pro plugin and hit the Activate button.
